By Peggy Eppig, Environmental Educator
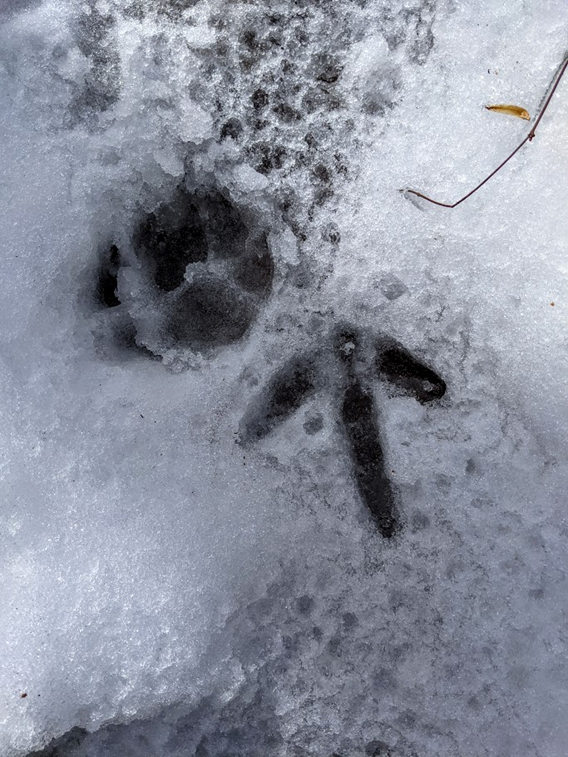
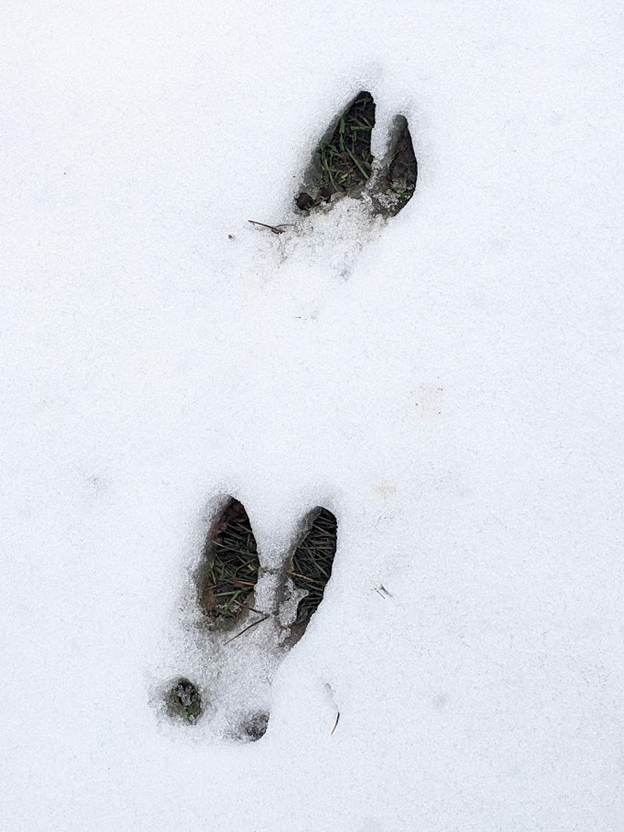
Ever wonder why animals active in winter seem to have few issues with traveling across ice and snow? Some animals like wild turkeys have cushioned textured foot pads that spread out across snowy surfaces and toe claws that are thick, sharp extensions of their feet. Their claws are vital for foraging under snow and act like scoops as they scratch and dig. Fox, bobcat, and coyote move about on all four clawed feet. White-tailed deer splay their hooves wide and use their sharp hoof points to pierce and grip slippery trails.
Lancaster Conservancy nature preserves contain many beautiful trails for winter hiking, but hikers should be prepared for a range of trail conditions that may require extra caution and equipment this season. Many of the preserves feature deep ravines and steep terrain, characteristic of the Susquehanna Riverlands landscape. Extended periods of deep cold at night and thawing conditions during the day can make for some rather long sections of slippery trail, especially near seeps, creeks, and springs.
When packing your winter hiking kit, it’s best to be prepared for encounters with ice. Think of the animals who frequent these same trails throughout the cold months. What can you do to add traction, improve stability, and distribute your weight to prevent slips and falls?
1. Know Before You Go
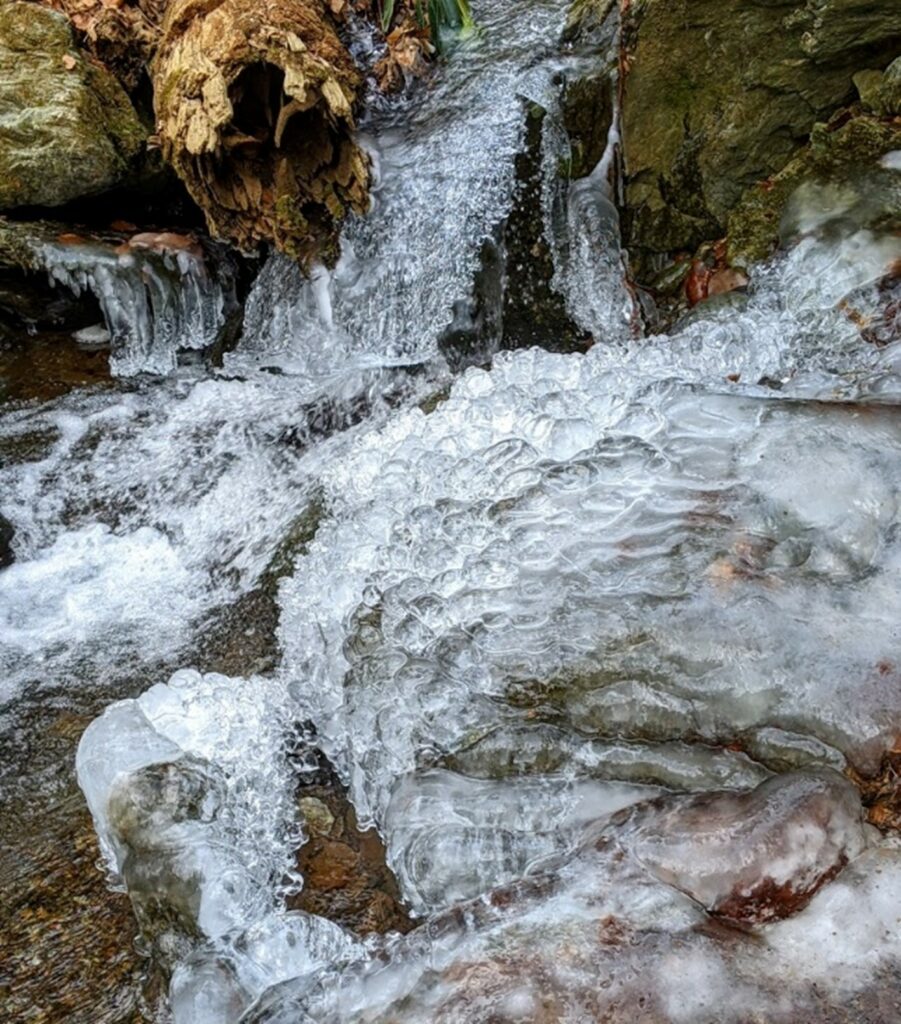
Ice at Kellys Run Nature Preserve (Photo by Peggy Eppig)
First, check the forecast before you head out. A mild winter day may be more comfortable, but it also presents the most dangerous conditions as freeze-thaw cycles cause ground moisture and water seepage from outcrops to flow and freeze far downhill from a water source. A favorite trail at Kellys Run Nature Preserve may just be damp in warmer weather, but a mild winter day following a cold night can turn the trail into a long ice chute where thick ice builds up over time and distance.
2. Consider Your Shoes and Your Steps
Like wearing a set of sharp claws, some hikers swear by traction devices like micro-spikes that can slip onto trail runners or hiking boots when you need them. A word of caution, however: add-on traction is not prevention against falls! You must be mindful of making every step secure. Be sure to add a little dig to your steps to make sure that you really grip into ice and don’t just scrape across it. A coyote will grip with its claws as it plants its foot on an uphill or downhill trail, and it’s easy to see how intentional this action is when comparing coyote tracks on level, snowy ground.
3. What Else to Wear
Think like a mink! These hardworking and very busy winter mammals are one of our weasel family members. They are always on the go. Their dense woolly undercoat is not only extremely warm but stays dry thanks to its water repellent properties. Layered over this luxurious undercoat is a second coat of long guard hairs that form a shell around the animal. It is kept waterproof with oils from special glands that the mink grooms into its fur for extreme water repellence. You will most likely see minks enjoying a cold dive for fish and crayfish around ice-free holes on frozen creeks and rivers in the coldest of times. They never seem to slow down!
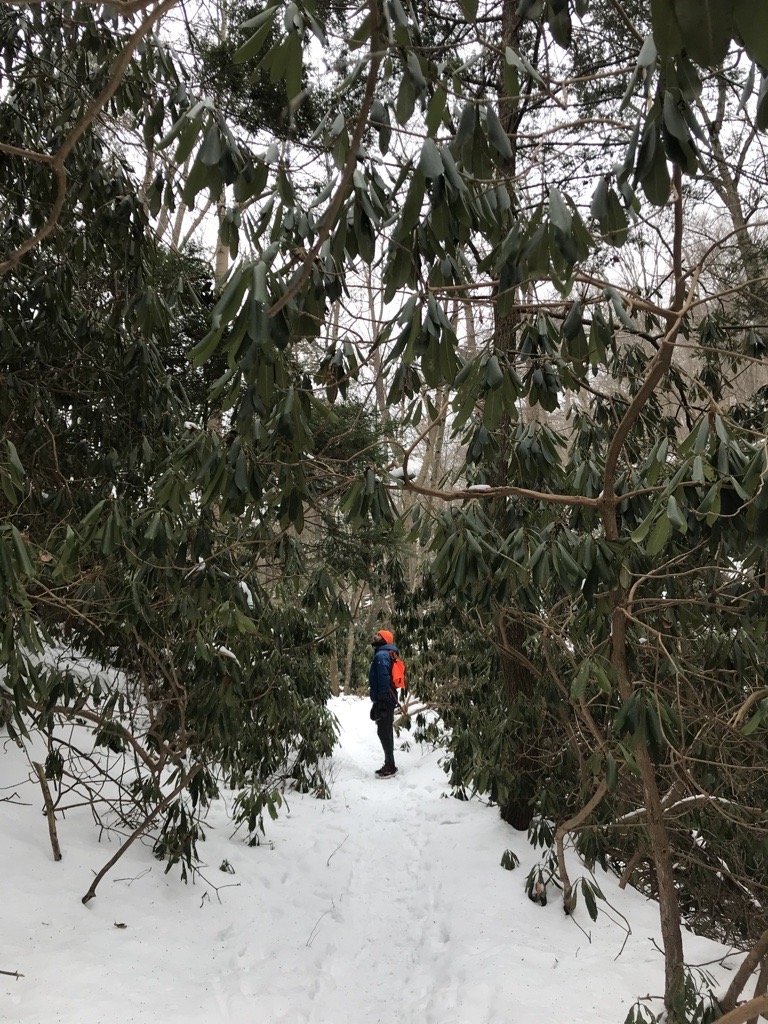
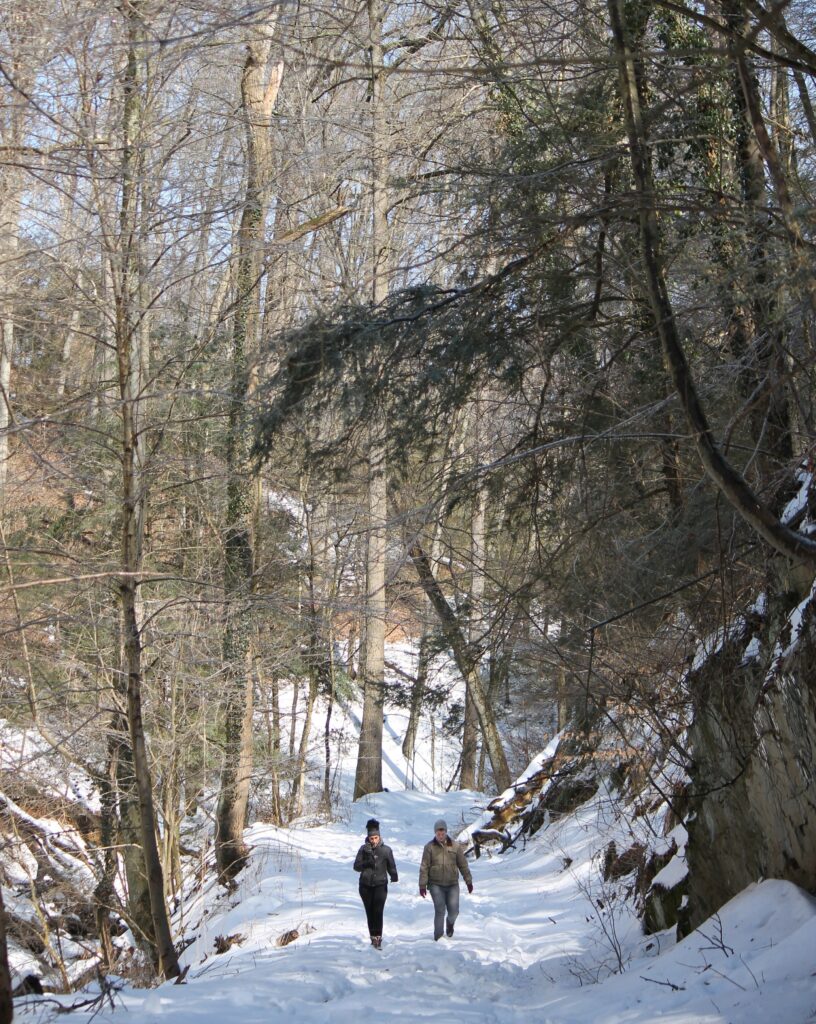
Winter hiker at McCalls Ferry Nature Preserve (Photo by Kelly Snavely)
For us humans, winter hiking can be hard work, and on average we burn 30% more calories trekking across winter landscapes than we do when the land is warm and green. Some of that calorie burn is attributed to our bodies working hard to stay warm, but as many hardy winter hikers know, it doesn’t take long before we are pulling off layers to cool off. But remember that the cold kills when wet clothing soaks through to the skin. Being soaked through on a winter’s day can quickly lead to hypothermia, a life-threatening situation. The key is to stay dry when it’s cold out. Dress in layers with a thin non-cotton base layer shirt against your skin. Wool or synthetic material is best. A middle layer of a puffy or wool sweater will most likely become your outer layer when you peel away a heavy coat or shell. Water resistance is important so that your middle insulating layer doesn’t soak through. I think like a mink when I peel away that heavy coat by having a water-resistant wind shirt or puffy over a wool base layer. Staying dry is so very important, especially when you are working up a sweat step-kicking up a steep trail and want to avoid a sweat-shivering break to catch your breath.
4. Add Extra “Legs”
Like a fox, think about having four feet for better stability. I always suggest using trekking poles in winter. It’s like having two extra legs! Remove the thick rubber end cap from the tip to expose a sharp metal point. On steep icy trails, plant your poles with a stab. I slow my pace considerably when hiking in or around ice, especially on sloping trails. Some ice can be easily spotted, but oftentimes it is covered by leafy debris or soil that looks deceivingly safe. I can’t run as well as a fox can over ice, but my trekking poles help me gain that four-footed advantage.
Trekking poles can also be used to determine the thickness of ice for stream crossings. The type of sound of a metal tip tapping on ice can tell you if the ice is solid enough to support you. A hollow sound indicates thin ice, and you should probably look for a better place to cross. A metallic “chunk” sound indicates good solid ice to cross, but you should still take it slow and easy. Ice may have different thicknesses depending on the changing stream flow or depth beneath. Often the safest way over is not straight across but at an angle or arc. If there are wild animal tracks at a crossing, take note of how and where they cross.
Hikers at Ferncliff Wildlife & Wildflower Preserve (Photo by Michelle Johnsen)
5. Beware the Hills
Unless you are hiking on one of our universal access trails, don’t forget that for every uphill there is a downhill. If you don’t have adequate traction for coming back down, then turn around. This is especially important if your shoes or boots have worn treads or no traction devices. Once you’ve committed to a downhill slope where ice or glazed snow is present, try side-stepping to distribute your weight more evenly over boot or shoe tread. With a good set of snowshoes, it’s easy to knock steps into snow for going up or down, but unlike our sharp clawed turkey friends who can adjust the spread of their toes for navigating steep pitches, snowshoe traction bars only span from side-to-side directly under the ball of your foot, and you must find the right placement on downhill sections to prevent sideways slips and slides.
Though we no longer have the persistently cold winters we once had in our region of Pennsylvania, an old DIY Pennsylvania ice fishing trick still serves me well. From my dad, I was taught how to affix six to eight small sheet metal screws into the thickest tread sections on an older pair of hiking boots that I would have otherwise retired from service. I keep these in my truck all winter long as part of my onboard winter hiking gear and wear them only outside – never inside! When I come across a snowy or icy trail I just can’t help but check out, I grab my studded boots and a pair of trekking poles and off I go. There are a few YouTube videos on doing this to an old pair of trail runners or winter boots. Don’t do this with newer boots and never with screws longer than the remaining tread on old boots.
Bonus nature fact: What wild animal has the equivalent of a set of studded snow boots for romping in ice and snow? Look no further than your backyard grey squirrel! Next time it snows, check out squirrel tracks as they run or frolic across the snowy ground or a frosty frozen pond surface. Their little studded paw pads surely must have inspired the best studded tires, don’t you think?
